Microsoft Power Automate Tutorial
Email Notification on Form Completion with Flow (using a template)
- This Power Automate tutorial demonstrates how to send email notifications upon the completion of a form in Microsoft Forms. This technique can also be used to send an email from most of the Office 365 applications when a specific event occurs. Creating a flow from scratch can also be done, but using a template is usually easier.
-
Click “Create” on the left side of the page.
-
Go to “Start from a template”.

-
In the search box, enter “Forms” and click the spyglass (
 ) or press enter. From the returned results, look for the following template and click
it.
) or press enter. From the returned results, look for the following template and click
it.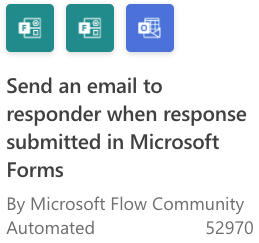
-
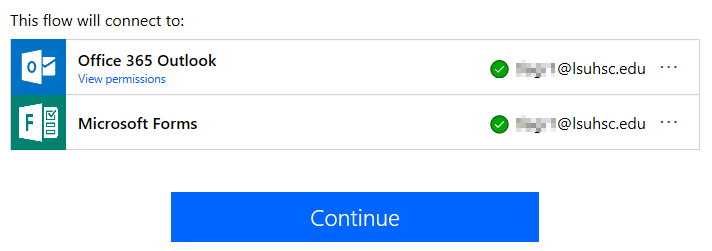
At the bottom of the page, click "continue."
-
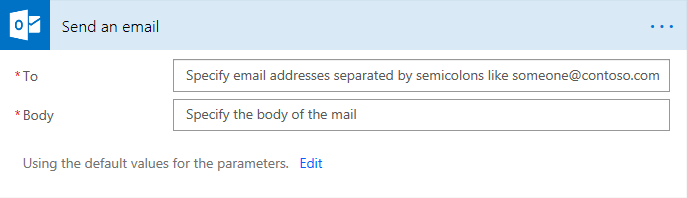
Choose the form that needs the email notification from the dropdown list.

-
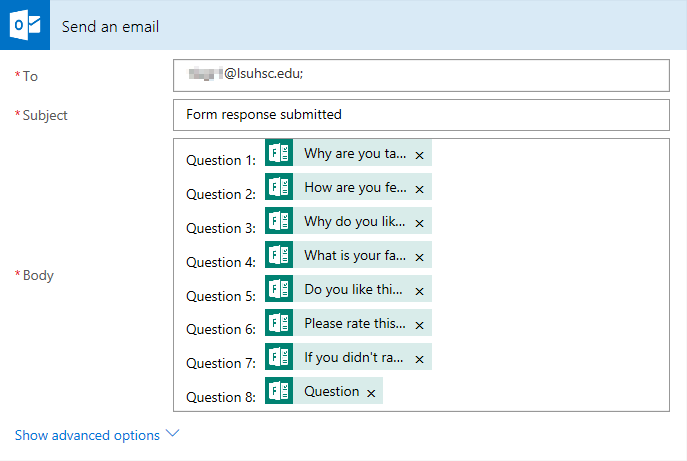
Enter the email address where the notification will be sent. You can enter multiple addresses by separating them with a semicolon (;).
-
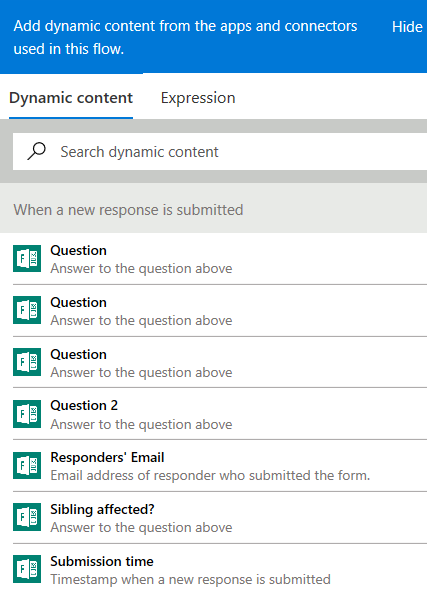
When the cursor is put in the text box for the email body, you can enter a static message or choose fields from the form fields list that will pop up.
-
Dynamic field example - press the enter button to separate responses to different lines in the body of the email. Otherwise, the responses will be strung together.
-
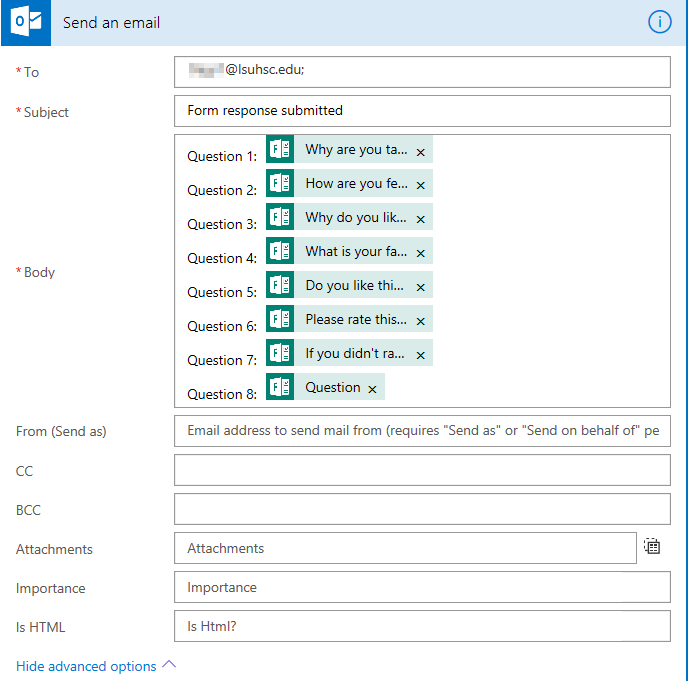
Click "Show advanced options" for additional information that can be included.
-
-
Click "Save."

- After saving you can run a test or click the arrow (
 ) to go to the flow details page. On the details page, you can view the run history,
check the connections, and turn the flow off and on. You can also add/delete owners
of the flow.
) to go to the flow details page. On the details page, you can view the run history,
check the connections, and turn the flow off and on. You can also add/delete owners
of the flow.
- Make sure that the flow is switched to "On" in the top right-hand corner of this page.
When the flow is on the switch will show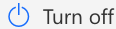 .
.
- Make sure that the flow is switched to "On" in the top right-hand corner of this page.